
Makeup tip
 |
| Where comfort meets style. |
Have you ever stood in front of the mirror, makeup brush in hand, feeling completely overwhelmed? You're not alone. For many, the world of makeup can seem like a complex maze of products, techniques, and trends. But what if we told you that achieving a flawless look doesn't have to be complicated?
Whether you're a beginner or looking to refine your skills, mastering makeup is all about understanding the basics and building from there. From selecting the right tools to perfecting your base and enhancing your best features, there's a whole world of beauty waiting to be explored. In this guide, we'll unlock the secrets to creating stunning looks for any occasion, and share the dos and don'ts that will take your makeup game to the next level. Ready to transform your routine and boost your confidence? Let's dive into the essential tips and tricks that will have you looking and feeling your best in no time!
 |
| A cozy corner for ultimate relaxation |
Essential Makeup Tools for Beginners
Must-have brushes and their uses
Every makeup enthusiast needs a set of quality brushes. Here's a quick guide to essential brushes:
- Foundation brush: For smooth, even application of liquid foundation
- Powder brush: Large, fluffy brush for setting powder and blush
- Eyeshadow brush: Flat brush for applying color to the lid
- Blending brush: Fluffy brush for seamless eyeshadow transitions
- Angled brush: For precise application of eyeliner or brow products
Choosing the right foundation and concealer
Selecting the perfect foundation and concealer is crucial for a flawless base. Consider:
| Factor | Foundation | Concealer |
|---|---|---|
| Shade | Match to jawline | 1-2 shades lighter than foundation |
| Finish | Matte, dewy, or natural | Creamy for under-eyes, matte for blemishes |
| Coverage | Light, medium, or full | Medium to full |
Importance of quality makeup sponges
Quality makeup sponges are game-changers for achieving a seamless, airbrushed finish. They're perfect for:
- Blending foundation
- Applying concealer
- Setting powder
Eyelash curlers and their benefits
Eyelash curlers can dramatically open up your eyes. Benefits include:
- Instantly lifted lashes
- Enhanced eye appearance
- Longer-looking lashes
- Better mascara application
Now that we've covered the essential tools, let's move on to perfecting your base makeup application.
 |
| Brighten your space with a touch of elegance. |
Perfecting Your Base
Prepping your skin for makeup application
Start with a clean canvas by cleansing and moisturizing your face. Apply a primer to create a smooth surface and help your makeup last longer.
Applying foundation for a flawless finish
Choose a foundation that matches your skin tone and type. Apply it using a damp beauty sponge or brush, blending outwards from the center of your face.
Concealing tricks for dark circles and blemishes
Use a color-correcting concealer to neutralize discoloration before applying your regular concealer. Pat the product gently with your ring finger for a natural finish.
Setting your base with powder
Lightly dust a translucent powder over your face to set your foundation and concealer, focusing on areas prone to shine.
| Step | Product | Application Method |
|---|---|---|
| 1. Prep | Primer | Fingertips or brush |
| 2. Foundation | Liquid or powder | Beauty sponge or brush |
| 3. Concealer | Creamy or liquid | Small brush or fingertip |
| 4. Setting | Translucent powder | Fluffy brush or powder puff |
Key tips for a flawless base:
- Match your foundation to your neck, not your face
- Blend, blend, blend for a seamless finish
- Less is more – build coverage gradually
- Set your makeup to increase longevity
Now that you've perfected your base, it's time to move on to enhancing your eyes, which will bring your look to life.
 |
| A moment of serenity in nature’s beauty |
Enhancing Your Eyes
A. Choosing the right eyeshadow palette
Selecting the perfect eyeshadow palette is crucial for creating stunning eye looks. Consider your eye color and skin tone when choosing colors. Neutral palettes are versatile for everyday wear, while vibrant shades can add drama for special occasions.
| Eye Color | Complementary Eyeshadow Colors |
|---|---|
| Blue | Copper, Bronze, Coral |
| Green | Purple, Plum, Gold |
| Brown | Navy, Teal, Champagne |
| Hazel | Olive, Burgundy, Rose Gold |
B. Mastering basic eyeshadow techniques
- To create depth and dimension, follow these basic techniques:
- Apply a light shade all over the lid as a base
- Use a medium shade in the crease for definition
- Add a darker shade to the outer corner for depth
- Highlight the brow bone with a shimmery shade
C. Eyeliner tips for different eye shapes
Adapt your eyeliner technique to enhance your natural eye shape:
- Almond eyes: Classic winged liner
- Hooded eyes: Thin line close to lashes
- Round eyes: Extend liner past outer corner
- Downturned eyes: Flick liner upwards for lift
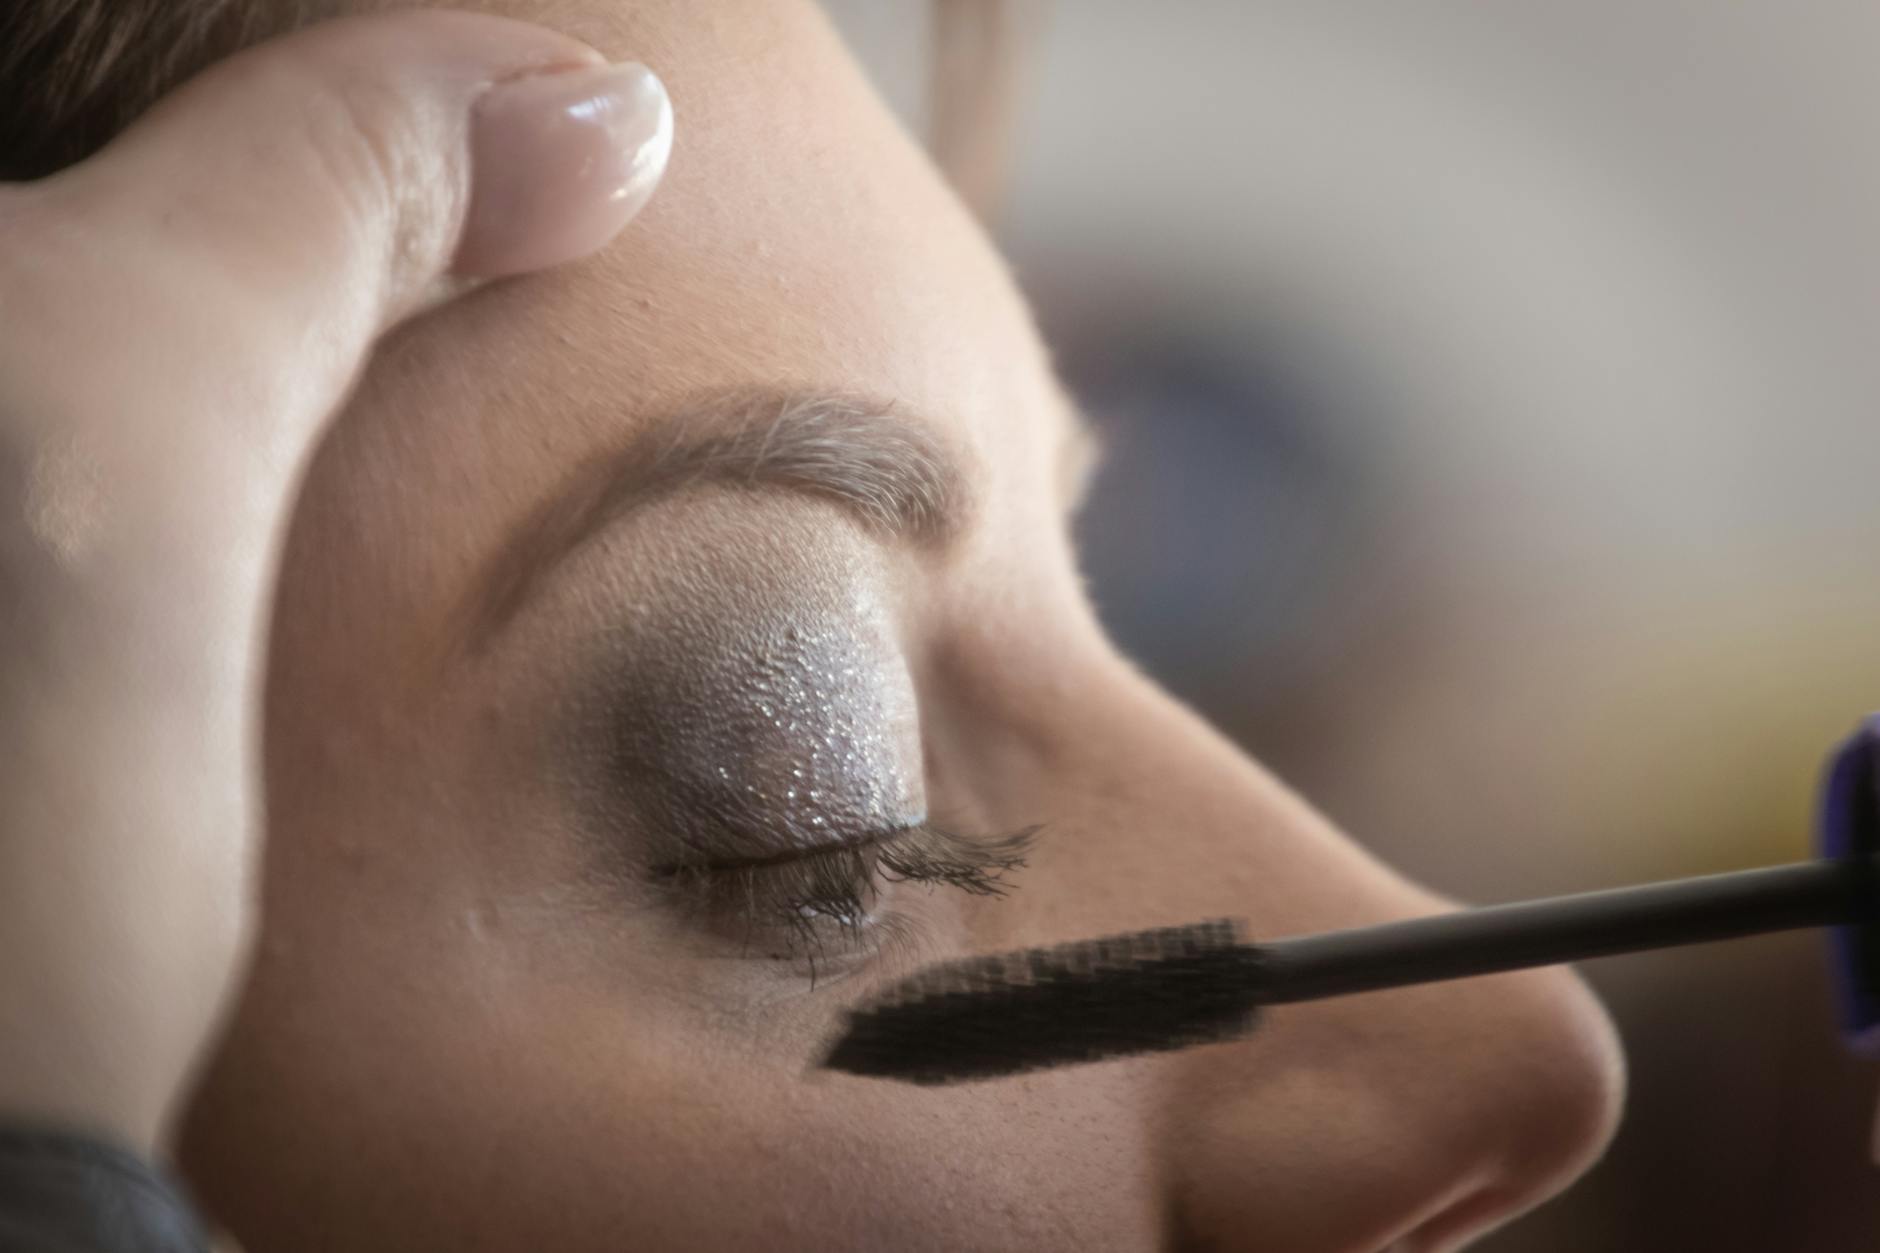
D. Applying mascara for fuller lashes
- For voluminous lashes:
- Curl lashes before applying mascara
- Wiggle wand at the base of lashes
- Apply multiple thin coats for buildable volume
- Use a lash comb to separate any clumps
Now that you've mastered eye makeup, let's move on to sculpting and defining your features.
 |
| Simplicity and style in perfect harmony |
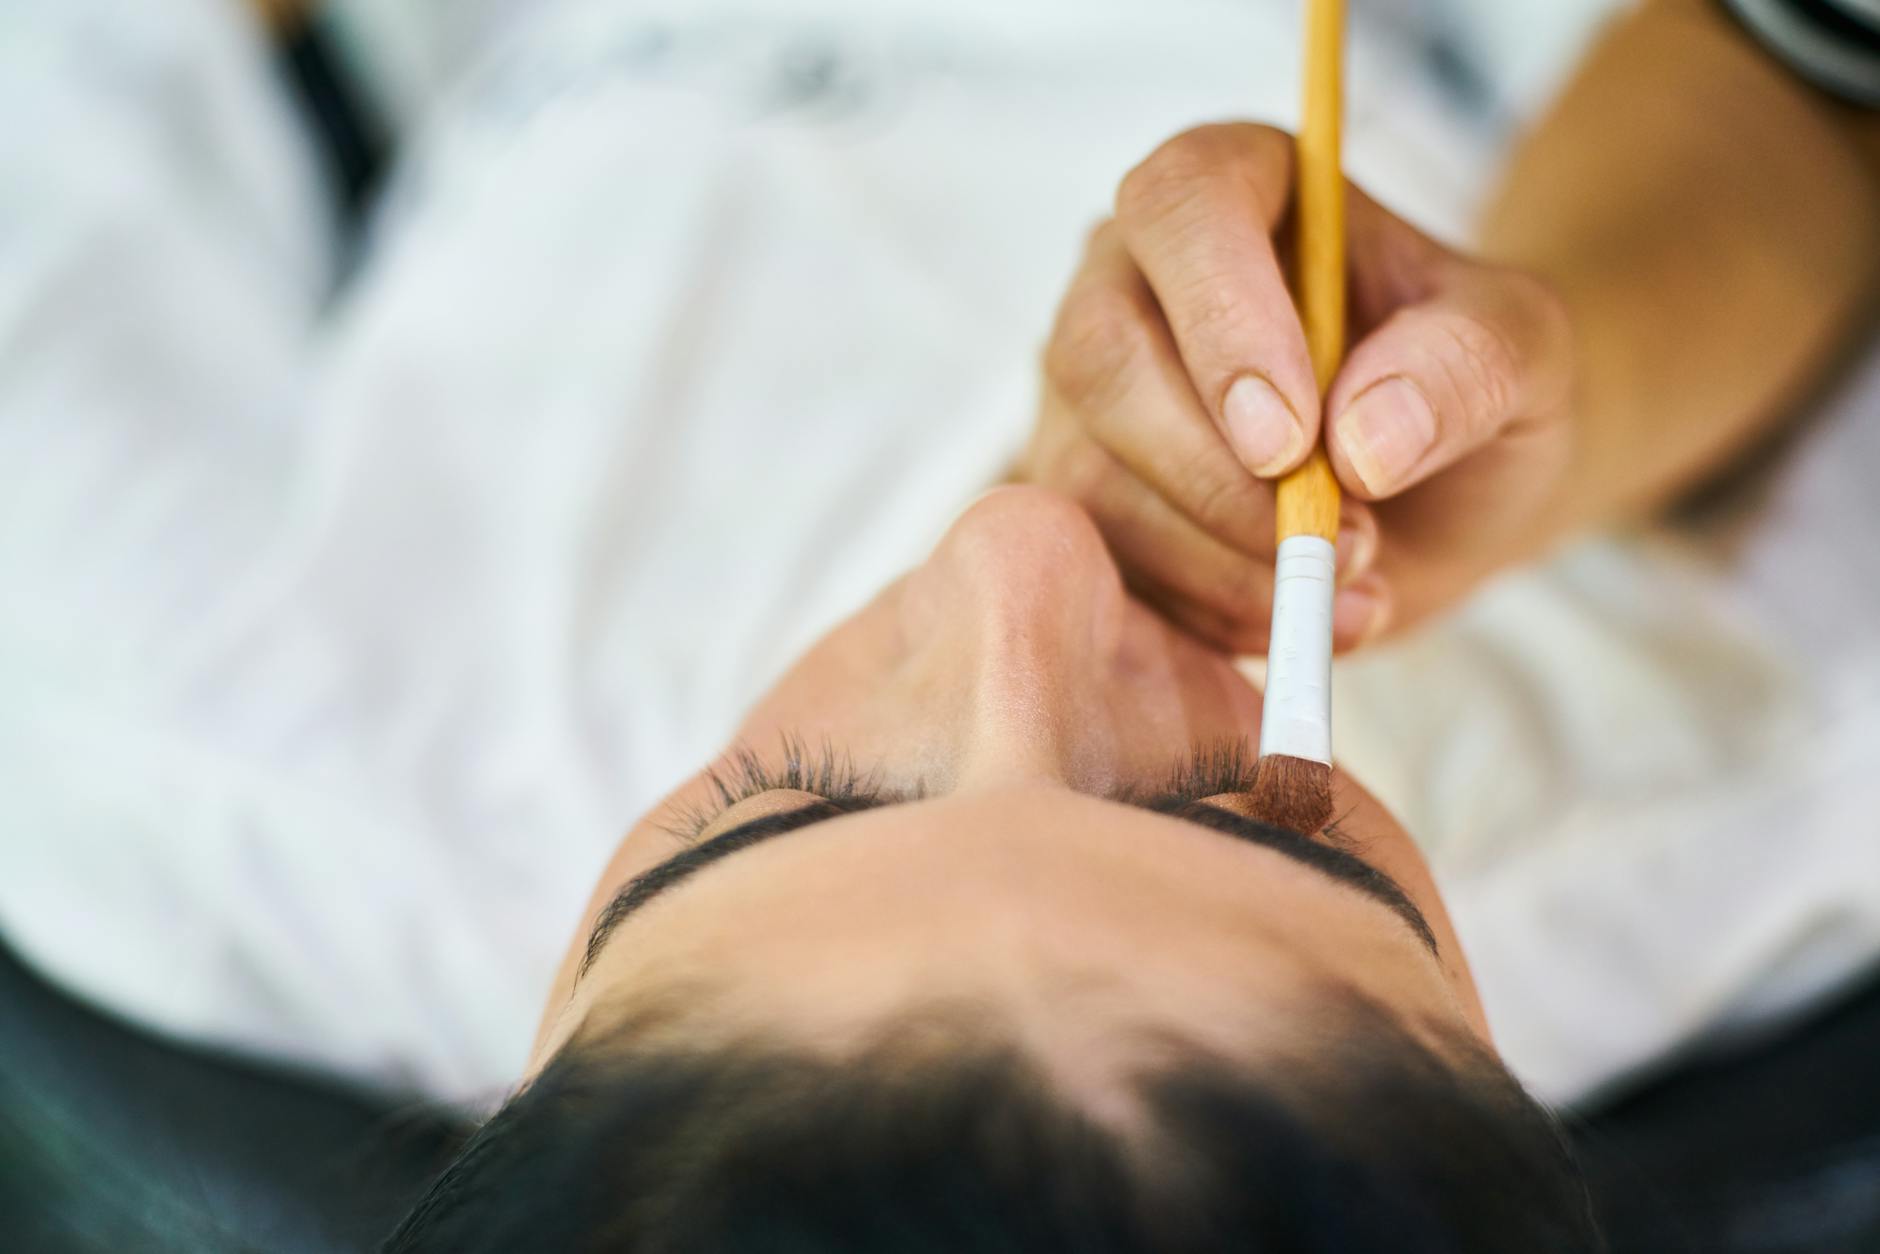
Sculpting and Defining
Now that we've covered the basics of eye makeup, let's move on to sculpting and defining your features. This step can truly elevate your makeup game and enhance your natural beauty.
A. Contouring basics for face shape enhancement
Contouring is all about creating shadows to sculpt your face. The key is to understand your face shape and apply product accordingly. Here's a quick guide:
| Face Shape | Where to Contour |
|---|---|
| Round | Temples, jawline |
| Square | Sides of forehead, jawline |
| Oval | Hairline, cheekbones |
| Heart | Sides of forehead, jawline |
Use a matte bronzer or contour powder 1-2 shades darker than your skin tone. Blend well for a natural look.
B. Highlighting techniques for a natural glow
Highlighting brings light to high points of your face, creating a radiant effect. Apply highlighter to:
- Top of cheekbones
- Center of forehead
- Down the bridge of nose
- Cupid's bow
- Center of chin
Choose a highlighter that complements your skin tone for the most natural effect.
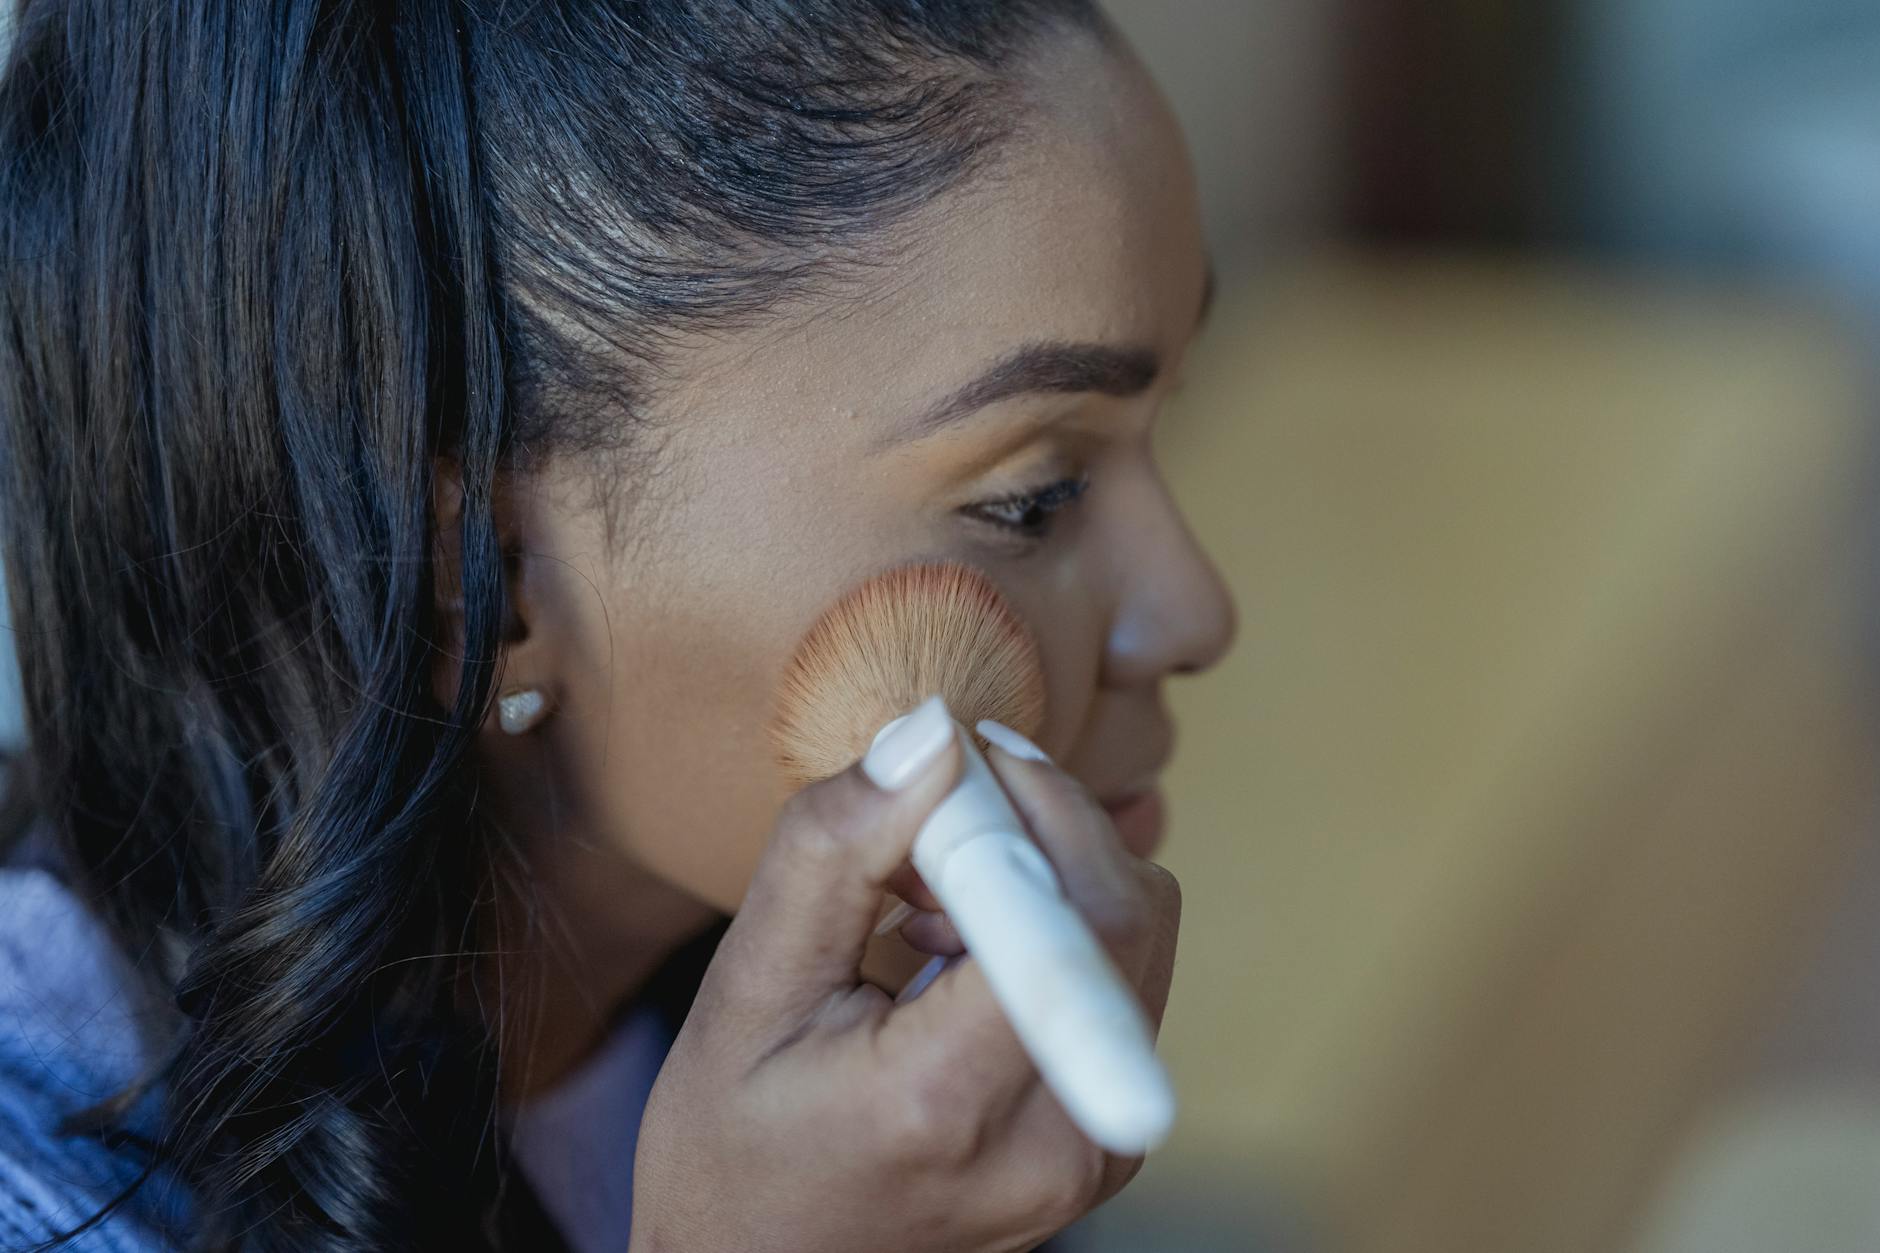
C. Blush application for a healthy flush
Blush adds a youthful, healthy glow to your complexion. The placement depends on your face shape:
- Round faces: Apply diagonally from apples of cheeks towards temples
- Oval faces: Focus on apples of cheeks
- Square faces: Apply in a circular motion on apples of cheeks
- Heart-shaped faces: Apply just below apples of cheeks
Remember, less is more with blush. Start with a light hand and build up as needed.
With these sculpting and defining techniques mastered, you're ready to move on to perfecting your lip makeup in the next section.
 |
| Fresh and vibrant, a burst of natural beauty. |
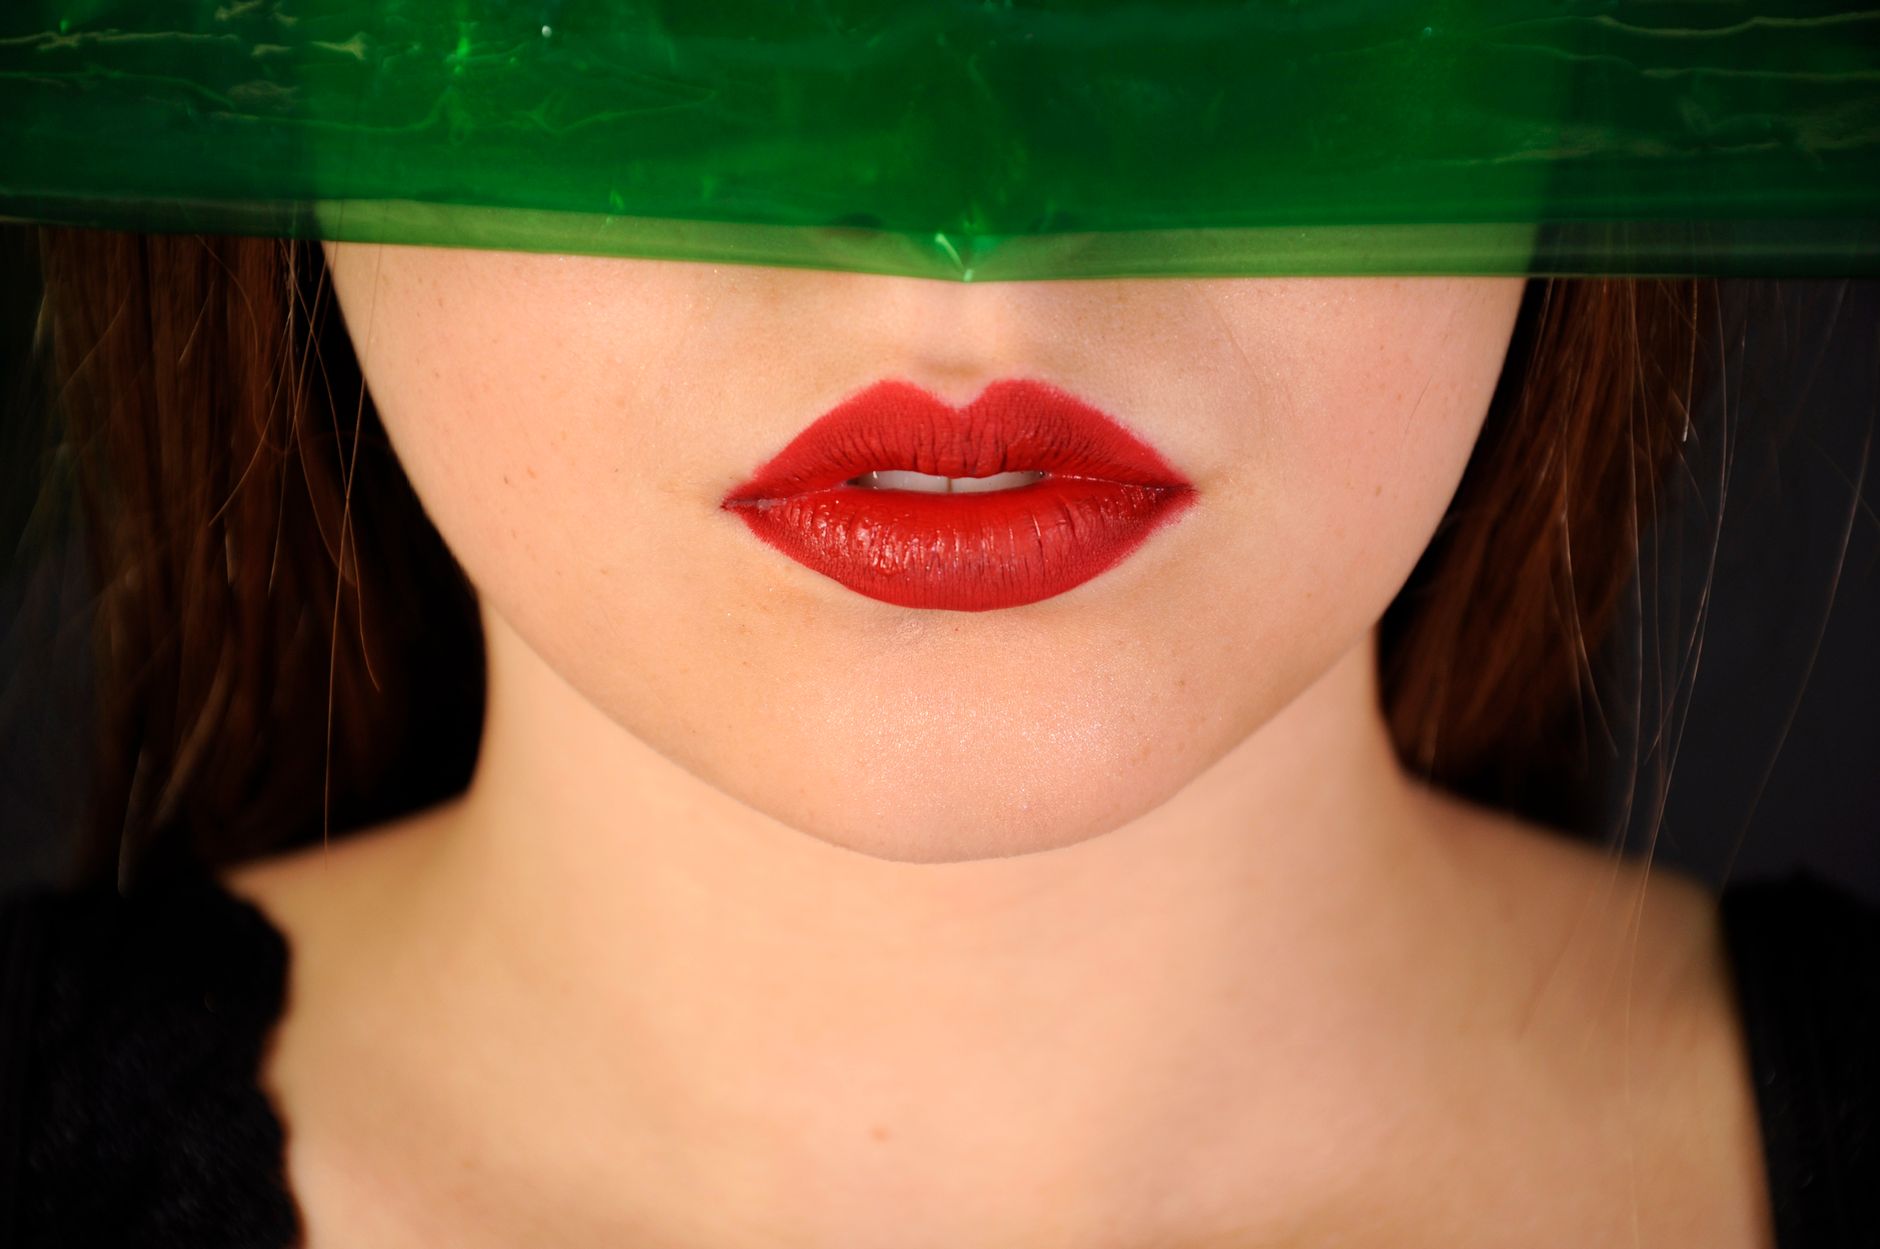
Lip Perfection
A. Prepping lips for smooth application
To achieve flawless lip color, preparation is key. Start by exfoliating your lips with a gentle lip scrub or a mixture of sugar and honey. This removes dead skin cells, leaving your lips smooth and ready for color. Follow up with a hydrating lip balm to moisturize and create a perfect canvas for your lipstick.
B. Choosing the right lip color for your skin tone
Selecting the perfect lip shade can enhance your overall look. Use this guide to find your ideal match:
| Skin Tone | Recommended Lip Colors |
|---|---|
| Fair | Soft pinks, corals, nudes |
| Medium | Berries, mauves, peachy nudes |
| Olive | Terra cottas, warm reds, browns |
| Dark | Deep plums, rich reds, chocolates |
Remember, these are guidelines, not rules. Experiment to find what makes you feel confident and beautiful.
C. Long-lasting lip color tricks
To make your lip color last all day, try these professional tips:
Apply a thin layer of foundation or concealer on your lips before color
- Use a lip liner to outline and fill in your lips
- Apply lipstick with a brush for precision
- Blot with a tissue and reapply for intensity
- Set with a light dusting of translucent powder
With these techniques, you'll achieve perfect, long-lasting lip color that complements your overall makeup look. Next, we'll explore quick makeup looks for different occasions, allowing you to adapt your newfound lip perfection skills to various settings.
 |
| A serene moment of calm and elegance. |
Quick Makeup Looks for Different Occasions
Now that we've covered the basics of makeup application, let's explore how to create stunning looks for various occasions in record time.
A. 5-minute everyday makeup routine
For those busy mornings, a quick 5-minute routine can make all the difference. Here's a simple yet effective routine:
- Apply tinted moisturizer or BB cream
- Dab concealer under eyes and on blemishes
- Sweep a neutral eyeshadow across lids
- Apply mascara
- Add a touch of blush and lip balm
B. Office-appropriate makeup tips
Professional environments call for a polished yet subtle look. Consider these tips:
| Makeup Element | Office-Appropriate Choice |
|---|---|
| Foundation | Light to medium coverage |
| Eye makeup | Neutral tones, minimal |
| Lip color | Nude or soft pink shades |
| Blush | Subtle, natural flush |
C. Glam evening look in 15 minutes
Transform your day look into a glamorous evening ensemble with these quick steps:
- Intensify your eye makeup with smoky shadows
- Apply winged eyeliner for drama
- Add false lashes or extra coats of mascara
- Contour cheeks for definition
- Choose a bold lip color
D. Natural "no-makeup" makeup technique
- Achieve a fresh-faced look with these tips:
- Use a sheer foundation or tinted moisturizer
- Conceal only where necessary
- Brush and set brows with clear gel
- Apply cream blush for a natural flush
- Finish with a tinted lip balm
By mastering these quick makeup looks, you'll be prepared for any occasion that comes your way. Next, we'll explore some crucial makeup dos and don'ts to ensure your makeup game is always on point.
 |
| Where comfort and style come together. |
Makeup Dos and Don'ts
Common makeup mistakes to avoid
When it comes to makeup application, even seasoned enthusiasts can fall prey to common pitfalls. Here's a list of mistakes to steer clear of:
- Applying foundation without proper skin preparation
- Using the wrong shade of foundation or concealer
- Overplucking eyebrows
- Neglecting to blend eyeshadow or contour properly
- Applying too much powder, resulting in a cakey appearance
Hygienic practices for makeup application
Maintaining proper hygiene is crucial for healthy skin and effective makeup application. Consider the following practices:
| Practice | Benefit |
|---|---|
| Clean brushes regularly | Prevents bacteria buildup |
| Sanitize makeup products | Reduces risk of infections |
| Wash hands before application | Ensures a clean canvas |
| Replace products past expiration | Maintains product efficacy |
Tips for making your makeup last all day
- Achieving long-lasting makeup is a game-
- changer for busy individuals. Try these tips to keep your look fresh:
- Use a primer before foundation application
- Set your makeup with a translucent powder
- Opt for waterproof formulas for eyeliner and mascara
- Touch up throughout the day with blotting papers
- Finish with a setting spray to lock everything in place
By avoiding common mistakes, practicing good hygiene, and implementing longevity techniques, you'll elevate your makeup game significantly. These tips will help you achieve a flawless, long-lasting look that boosts your confidence throughout the day.
 |
| Embrace the beauty of simplicity and tranquility. |
Mastering the art of makeup is a journey that begins with understanding the essentials. From selecting the right tools to perfecting your base, enhancing your eyes, and sculpting your features, each step plays a crucial role in creating a flawless look. By following the tips and techniques outlined in this guide, you'll be well-equipped to tackle various makeup styles for different occasions.
Remember, makeup is a form of self-expression, and there's no one-size-fits-all approach. Experiment with different techniques, have fun with colors, and don't be afraid to break the rules occasionally. As you continue to practice and refine your skills, you'll develop a signature style that enhances your natural beauty and boosts your confidence. Happy beautifying! FAQs
How much should I tip my hairstylist and makeup artist for my wedding?
- A standard tip is generally between 15% to 20% of the total service cost. For exceptional service or complex styles, you may tip up to 25%.
When is the best time to give a tip to my beauty team?
- It's best to tip right after the services are completed to avoid forgetting amidst the wedding day excitement.
What if my beauty team travels to my wedding venue?
- If your hair or makeup artist travels a significant distance, consider adjusting your tip to reflect that effort, often adding an extra $20-$50.
Do I need to tip for trial sessions?
- Yes, it's customary to tip for trial sessions as well, typically around 15-20% of the trial session cost.
What are some alternatives to cash tips?
- You can express appreciation through personalized thank-you notes, small gifts, positive online reviews, or referrals to future clients
Conclusion
Tipping your wedding hair and makeup artists is an important way to show gratitude for their hard work and dedication on your special day. Understanding the standard tipping rates, considering various factors that influence the amount, and incorporating tips into your overall wedding budget can help alleviate any last-minute stress. By communicating expectations with your wedding party and exploring alternative ways to show appreciation, you can ensure a smooth experience. Ultimately, the key is to express your thanks in a way that reflects your satisfaction and acknowledges the effort of those who help you look and feel your best on your big day.


0 Comments