
 |
| Elegant and calming space for a peaceful home. |
Makeup tips
✨ Lights, camera, action! Ever feel like something’s missing in your makeup routine? You’re definitely not alone. With so many beauty tutorials and new products popping up, it’s easy to feel a bit lost. But here’s the good news: achieving that flawless, red-carpet-ready look doesn’t have to be complicated!
Welcome to your go-to guide for mastering makeup! Whether you’re just starting out or a seasoned pro aiming to fine-tune your skills, we’re here for you. From choosing the perfect tools to nailing that stunning pout, we’ll guide you through each step to help you create a look that’s truly yours. Ready to uncover the tricks that professional makeup artists swear by? Get ready to shake up your routine, boost your confidence, and take your makeup game to the next level. Let’s dive in and explore the steps to achieving makeup perfection!
 |
| Cozy and stylish space for ultimate comfort |
Essential Makeup Tools for Flawless Application
Brushes and sponges for different purposes
Having the right set of brushes and sponges is key to achieving a flawless makeup look, as each tool has its own unique purpose:
- Foundation Brushes: These dense, flat-topped brushes provide smooth, even coverage.
- Powder Brushes: Large and fluffy, they’re perfect for setting makeup with a light dusting of powder.
- Blush Brushes: Typically angled or domed, these allow for precise application on the cheeks.
- Eyeshadow Brushes: Available in various sizes and shapes to handle both blending and detailed eye work.
- Beauty Sponges: Ideal for seamlessly blending liquid and cream products for a natural finish.
With these essentials, you’ll be ready to create a professional, polished look!
Importance of quality mirrors and lighting
Good lighting and a quality mirror are often overlooked but make all the difference in achieving a flawless makeup application. Proper lighting helps you see true colors and blends, while a clear mirror ensures precision for every detail. Together, they’re essential tools for a polished, professional look!
| Mirror Type | Best Use |
|---|---|
Here’s a quick guide to essential mirrors and lighting for a flawless makeup routine:
For lighting, natural, diffused light is the best choice, as it gives the most accurate view of colors and shadows, ensuring your makeup looks great in any setting! |
Organizational tools for your makeup collection
Keeping your makeup organized not only saves time but also helps keep your products in great condition. Here are some essentials for organizing your collection:
- Makeup Bags with Compartments: Keep items separated and easy to find.
- Clear Acrylic Organizers: Great for displaying and accessing products quickly.
- Drawer Dividers: Perfect for neatly arranging products within drawers.
- Brush Holders: Keeps brushes upright and clean, ready for use.
- Magnetic Palettes: Ideal for creating customizable eyeshadow collections.
 |
| Modern, serene, and elegant. |
With organization covered, let’s dive into preparing your skin for a flawless makeup application!
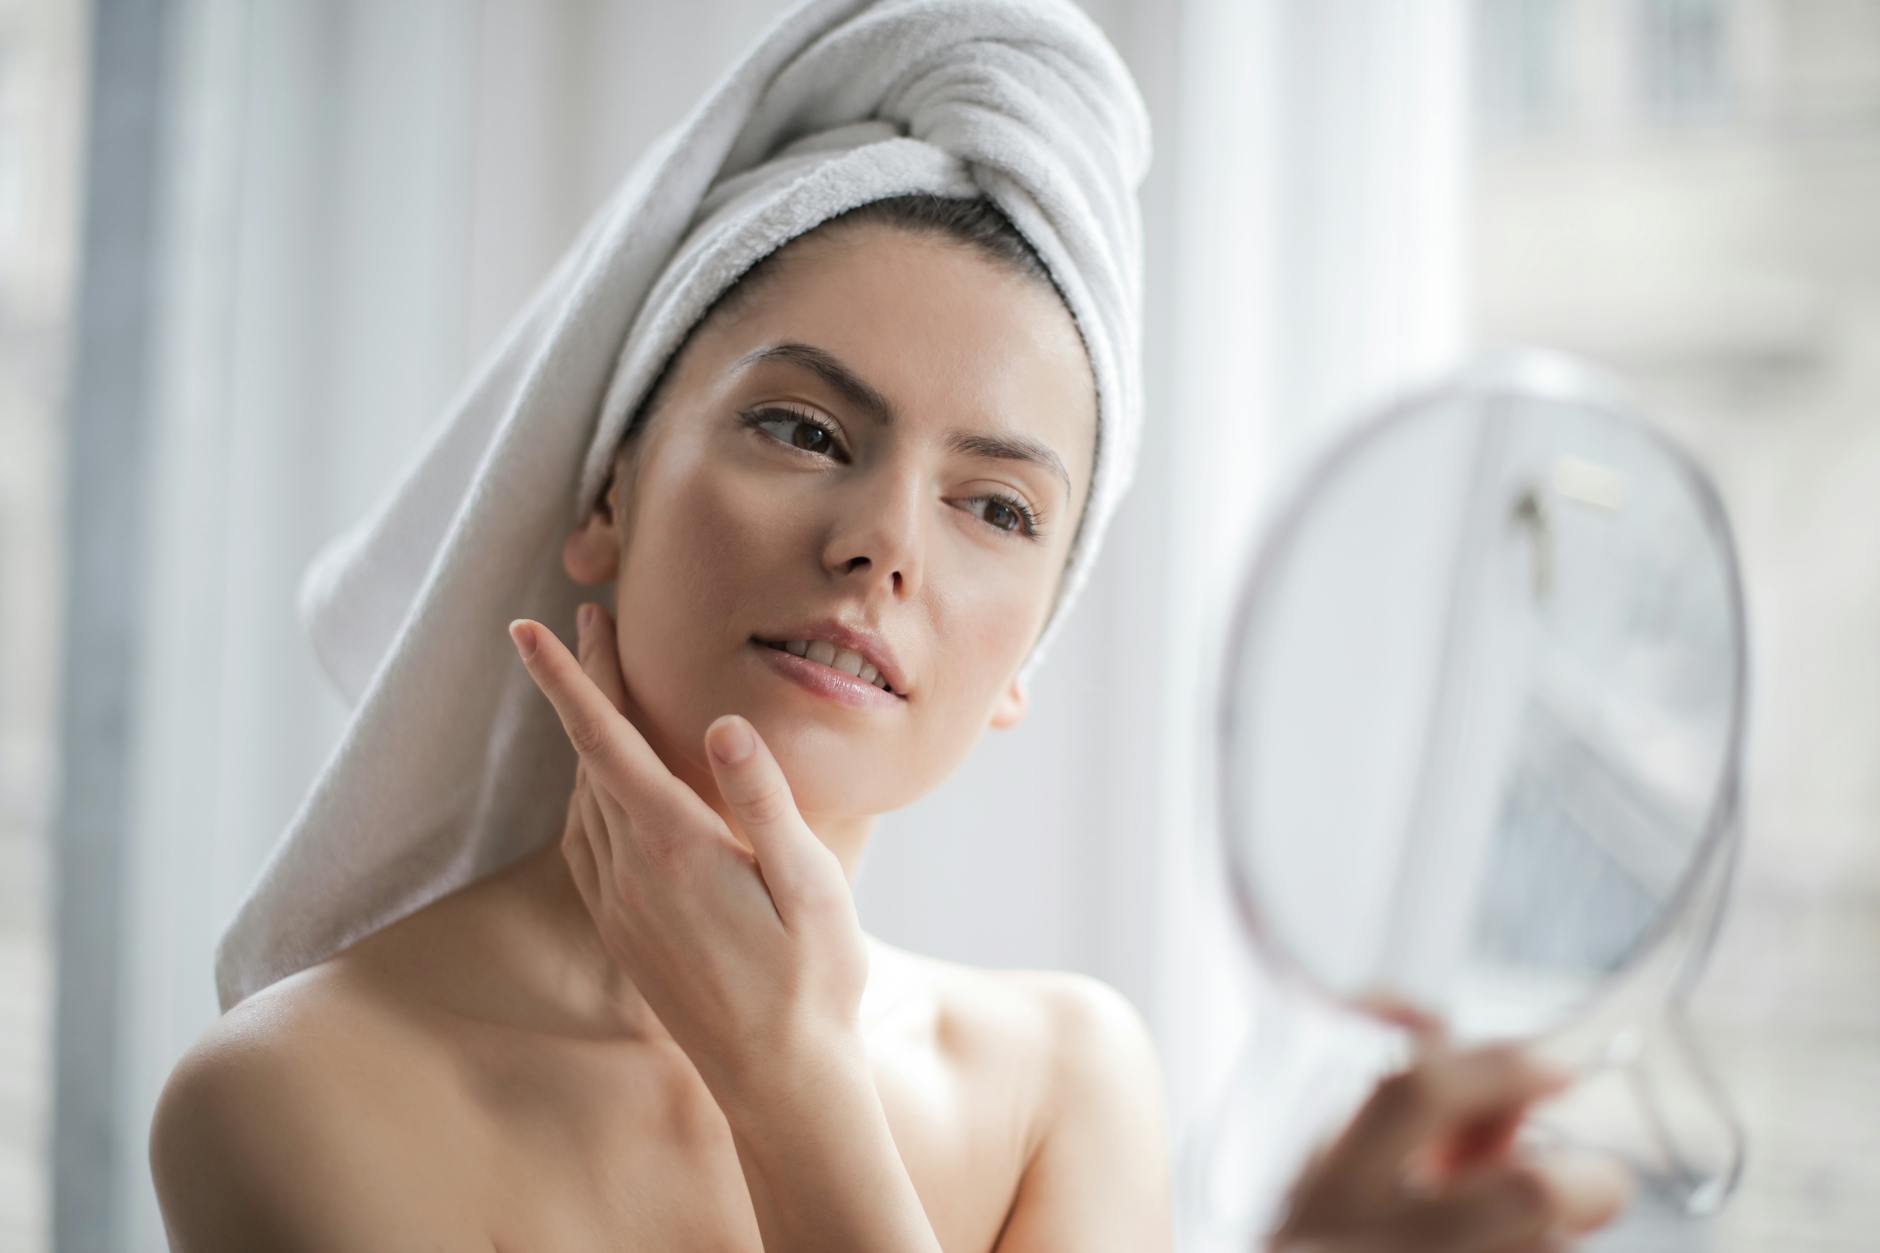
Prepping Your Skin for Makeup
A. Cleansing and exfoliating routines
To achieve flawless makeup, it’s essential to start with a fresh, clean canvas. Begin by establishing a consistent cleansing routine with a gentle cleanser that suits your skin type. This daily step clears away impurities and preps your skin. For an extra smooth finish, exfoliate 1-2 times per week to slough off dead skin cells, revealing a refreshed, even surface for makeup application.
B. Moisturizing for a smooth canvas
After cleansing, apply a lightweight moisturizer to hydrate and plump your skin, creating an ideal base for makeup. This helps smooth the surface, allowing makeup to glide on effortlessly and reducing the chance of dry patches or flakiness throughout the day.
C. Primers and their benefits
Primers are key for ensuring your makeup lasts all day. They create a smooth surface, reduce the appearance of pores, and help makeup adhere better. Here’s how to choose a primer based on your skin needs:
- Mattifying Primer: Ideal for oily skin to control shine.
- Hydrating Primer: Great for dry skin to add moisture and prevent flakiness.
- Pore-Filling Primer: Helps minimize the appearance of pores for a smooth finish.
- Color-Correcting Primer: Neutralizes redness or discoloration for a more even base.
With the right primer, your makeup will stay fresh and flawless longer!
| Skin Concern | Recommended Primer Type |
|---|---|
Here’s a quick guide to selecting the right primer based on your specific skin concerns:
Selecting the right primer will enhance your makeup application and ensure a long-lasting look! |
D. Color correction techniques
Color correction is a great way to neutralize any skin discoloration before applying foundation. Here’s how to use color-correcting concealers effectively:
- Green: Perfect for neutralizing redness, especially from blemishes or rosacea.
- Purple: Brightens sallow or dull skin, giving you a fresh appearance.
- Peach: Ideal for concealing dark circles on darker skin tones.
- Pink: Works well to brighten fair skin, enhancing your overall glow.
When applying color correctors, use them sparingly and blend thoroughly to ensure a smooth base. Now that your skin is properly prepped, you're ready to perfect your base with foundation and concealer!
 |
| Bright and airy space with a fresh vibe. |
Perfecting Your Base
Now that your skin is prepped, it’s time to create a flawless canvas for your makeup look. Perfecting your base is essential for achieving a polished appearance that lasts all day. With the right foundation and concealer, you can even out your skin tone and enhance your natural beauty, ensuring your makeup looks fresh and beautiful from morning to night. Let’s dive into the steps for applying foundation and concealer for that perfect finish!
A. Choosing the right foundation formula
Choosing the right foundation formula is crucial for achieving a natural-looking base. Here’s how to select the best option based on your skin type and desired finish:
- Oily Skin: Look for a matte or oil-free foundation that controls shine and provides a long-lasting finish.
- Dry Skin: Opt for a hydrating or luminous foundation that adds moisture and gives a dewy glow.
- Combination Skin: A semi-matte or satin foundation can balance both dry and oily areas for a uniform look.
- Sensitive Skin: Choose a hypoallergenic or fragrance-free foundation to minimize irritation.
- Full Coverage: If you prefer a more polished look, consider a full-coverage foundation to conceal imperfections.
- Light Coverage: For a more natural finish, a tinted moisturizer or BB cream can even out your skin tone without feeling heavy.
By selecting the right foundation, you’ll create a beautiful, seamless base for your makeup!
| Skin Type | Recommended Foundation Formula |
|---|---|
Here’s a quick reference for selecting the perfect foundation based on your skin type:
Selecting the right foundation will help you achieve a flawless and natural-looking base! |
B. Concealer tips for various skin concerns
Concealer is your go-to tool for addressing specific skin concerns. Here’s how to use it effectively:
- Dark Circles: Start with a peach-toned corrector to neutralize the darkness, then layer a brightening concealer on top for an illuminating effect.
- Blemishes: For blemishes, select a full-coverage, non-comedogenic concealer to cover imperfections without clogging your pores.
- Redness: Use a green-tinted color corrector to neutralize redness, then apply your regular concealer over it to achieve an even skin tone.
With the right techniques, concealer can help you achieve a flawless finish!
C. Setting your base for longevity
To keep your makeup looking fresh all day, here are some essential tips:
Setting Powder: Use a damp beauty sponge to press setting powder into areas that are prone to creasing, like under the eyes and around the nose. This helps to set your makeup and prevent it from settling into fine lines.
Setting Spray: Finish your look with a setting spray to lock in your makeup and give your skin a natural, dewy finish. This step is crucial for ensuring longevity.
Blotting Papers: If you have oily skin, keep blotting papers on hand for quick touch-ups. They absorb excess oil without disturbing your makeup, helping you maintain a fresh appearance throughout the day.
By following these tips, you’ll ensure your base stays flawless from morning to night!
Now that your base is perfected, it’s time to enhance your eyes and highlight your best features! Whether you’re aiming for a subtle everyday look or a bold statement, the right eye makeup can elevate your entire appearance. Let’s dive into techniques for defining your eyes and showcasing
 |
| Chic and cozy space with a warm ambiance |
Enhancing Your Eyes
Eyeshadow Application Techniques
To create stunning eye looks, mastering these eyeshadow application techniques is essential:
Priming: Always begin with an eye primer. This step ensures that your eyeshadow goes on smoothly and stays vibrant throughout the day.
Blending: Use a fluffy brush to blend colors seamlessly. This technique creates a professional finish and prevents harsh lines, giving your eyes a polished look.
Layering: Build intensity by layering colors from light to dark. Start with a lighter shade as your base and gradually add deeper tones to create depth and dimension.
With these techniques in your toolkit, you’ll be well on your way to achieving beautiful eye makeup!
Eyeliner Styles for Different Eye Shapes
| Eye Shape | Recommended Eyeliner Style |
|---|---|
Here’s how to tailor your eyeliner for different eye shapes to enhance your natural beauty:
By customizing your eyeliner technique to your eye shape, you can achieve a flattering and stunning |
Mascara Tricks for Voluminous Lashes
To achieve lush, beautiful lashes, try these mascara tips:
Wiggle the Wand: Start by wiggling the wand at the base of your lashes. This technique helps to add volume and lift right from the roots.
Zigzag Motion: Apply mascara in a zigzag motion as you sweep the wand up through your lashes. This ensures even coverage and prevents clumping.
Lash Comb: After applying mascara, use a lash comb to separate any clumps. This step will give your lashes a defined and fluttery look.
With these tips, you’ll have gorgeous, voluminous lashes that complete your eye makeup beautifully!
Brow Grooming and Filling
Well-groomed brows beautifully frame your eyes and complete your look. Follow these steps for perfect brows:
Brush Upward: Use a spoolie brush to brush your brows upward. This helps to lift the hairs and gives you a fuller appearance.
Fill in Sparse Areas: Use a brow pencil or powder to fill in any sparse areas with short, hair-like strokes. This creates a natural look and defines your brows.
Set with Brow Gel: Finish off by applying a clear brow gel to set your brows in place for all-day hold, ensuring they stay perfectly shaped.
Now that we’ve enhanced your eyes with beautiful brows, let’s move on to sculpting and defining your features for a complete makeup look!
Sculpting and Defining Features
Now that we’ve enhanced our eyes, it’s time to focus on sculpting and defining our facial features. This step is essential for elevating your makeup game and achieving a polished look. With the right techniques, you can add dimension to your face, accentuate your best features, and create a stunning overall appearance. Let’s explore how to contour and highlight for a beautifully sculpted look!
Contouring Basics for Face Shape
Contouring is all about creating shadows to enhance your natural bone structure. Here’s how to do it effectively:
Choose the Right Product: Select a matte bronzer or contour powder that is 1-2 shades darker than your skin tone. This will create natural-looking shadows.
Apply Strategically: Focus on areas you want to recede, such as:
- Cheekbones: Apply under your cheekbones for definition.
- Jawline: Sweep along your jawline to create a more sculpted appearance.
- Forehead: Apply at the hairline to make your forehead appear smaller.
- Nose: Lightly contour along the sides of your nose for a slimmer look.
Blending is crucial; use a brush or sponge to ensure a seamless finish. With the right contouring technique, you’ll enhance your natural features beautifully!
| Face Shape | Where to Contour |
|---|---|
Here’s how to contour based on your face shape to enhance your natural features:
By contouring according to your face shape, you can achieve a beautifully sculpted look that enhances your unique features! |
Highlighting for a Natural Glow
Highlighting adds a beautiful radiance to your complexion by bringing attention to the high points of your face. Here’s where to apply a shimmery product that’s slightly lighter than your skin tone:
- Top of Cheekbones: This creates a lifted effect and enhances your smile.
- Center of Forehead: Applying highlight here brightens your complexion and adds dimension.
- Bridge of Nose: A light touch on the bridge of your nose gives it a subtle glow and makes it appear slimmer.
- Cupid's Bow: Highlighting this area accentuates your lips, making them look fuller and more defined.
By strategically placing your highlighter, you can achieve a stunning, radiant look that beautifully complements your makeup!
Blush Placement for Your Face Shape
Blush adds a lovely, healthy flush to your complexion, and its placement can enhance your natural features based on your face shape. Here’s how to apply blush for different shapes:
Oval Face: Apply blush directly to the apples of your cheeks for a natural look.
Round Face: Sweep blush diagonally from your temples to your cheekbones to create the illusion of length and definition.
Square Face: Focus on the apples of your cheeks and blend outward to soften the angles of your face.
Heart-Shaped Face: Apply blush in a "C" shape from your temples to your cheekbones to balance the wider forehead and narrower chin.
Remember to blend thoroughly for a seamless finish! With these techniques, you’ll be all set to perfect your pout in the next section!
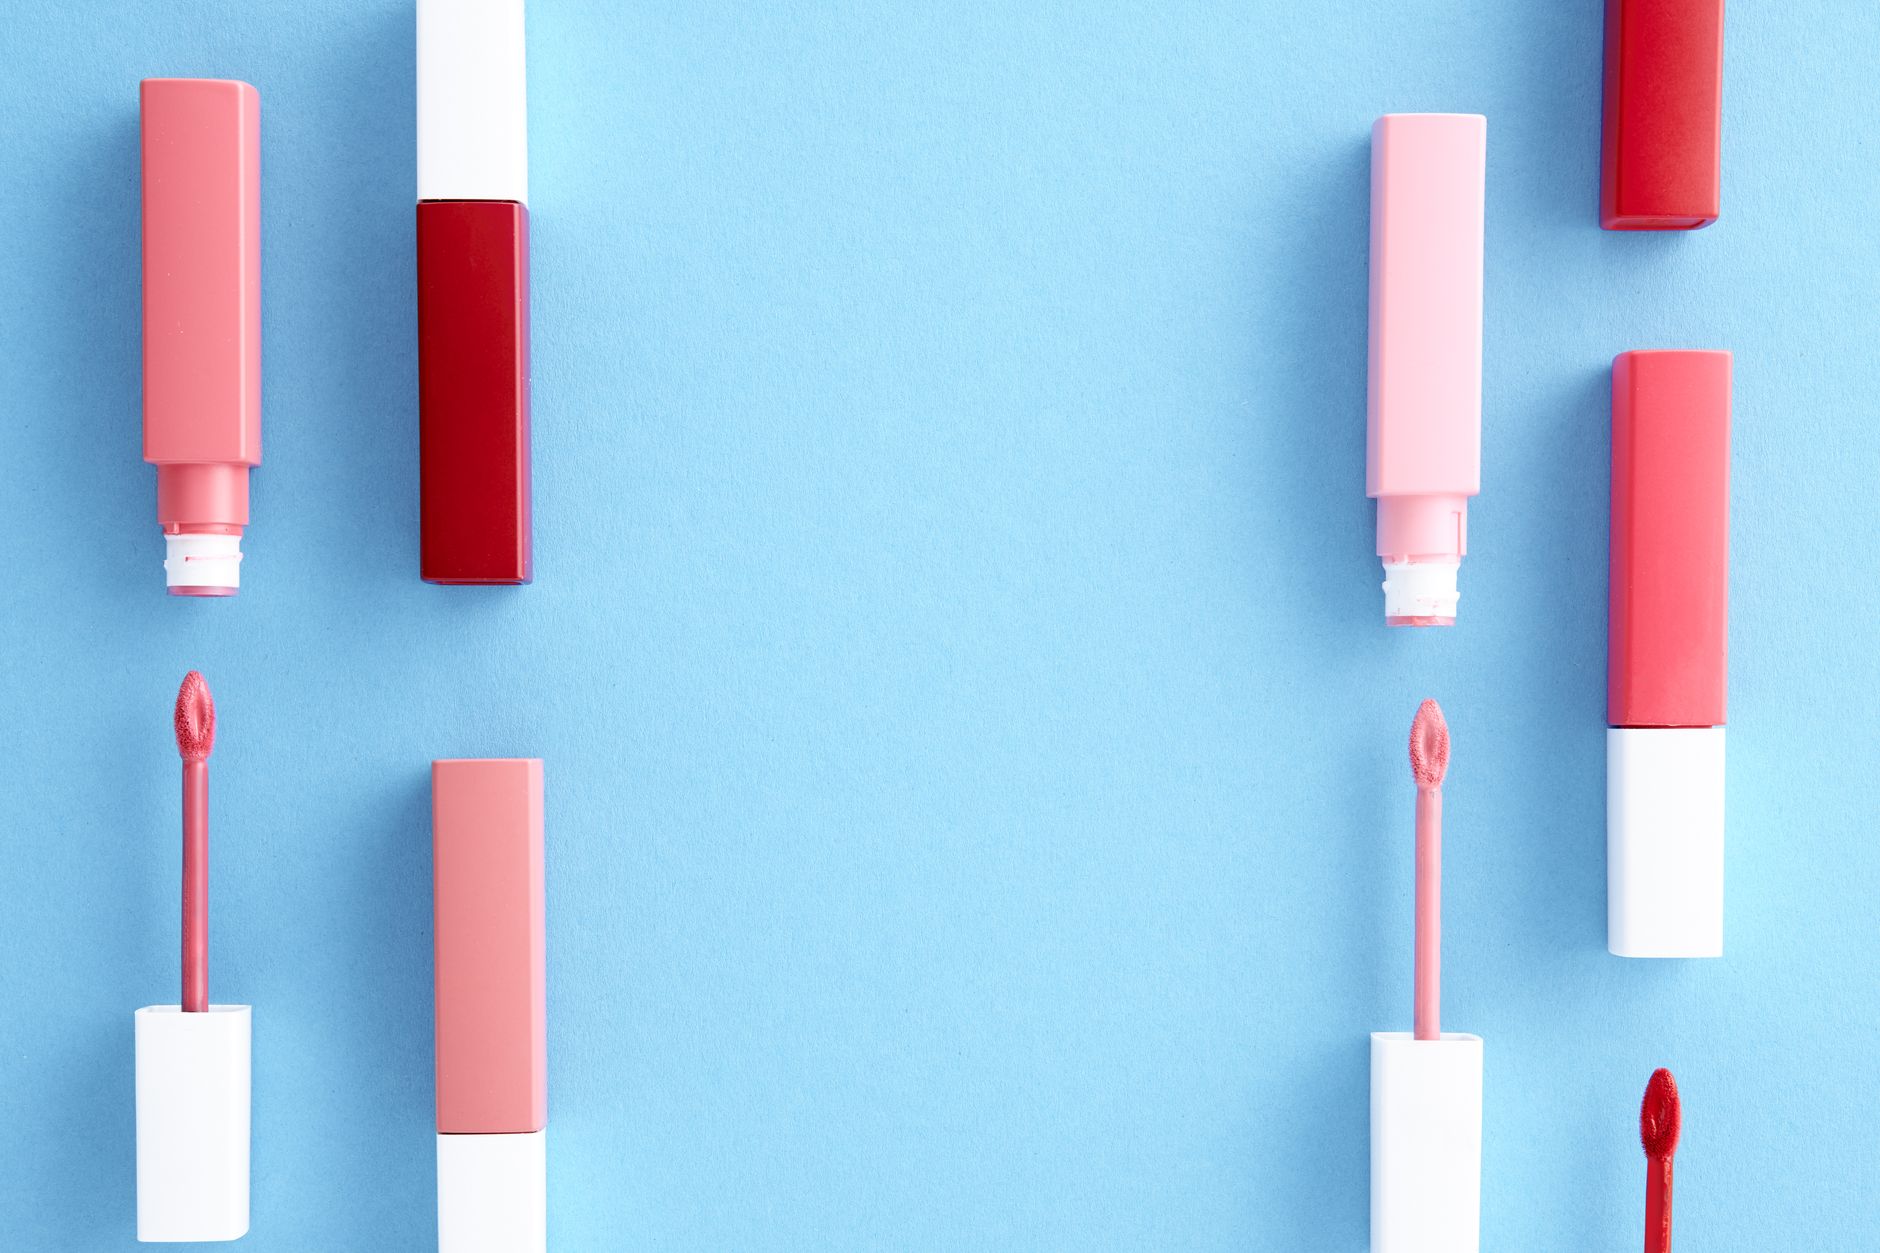
Perfecting Your Pout
Now that we’ve enhanced your features, it’s time to focus on creating the perfect lip look to complete your makeup. The right lip color and application can elevate your entire appearance, whether you’re going for a bold statement or a soft, natural finish. Let’s explore tips and techniques for achieving beautifully defined lips!
Lip Prep and Priming
Before applying any lip color, it’s essential to prepare your lips for a smooth, long-lasting finish. Here’s how to do it:
Exfoliate: Gently scrub your lips with a lip scrub to remove any dry, flaky skin. This step helps create a smooth canvas for your lip color.
Hydrate: Apply a hydrating lip balm to moisturize your lips. This ensures they stay soft and comfortable throughout the day.
Blot Excess Balm: After allowing the balm to absorb, lightly blot any excess product. This prevents the lip color from slipping and ensures better adherence.
With your lips prepped and ready, you can achieve a flawless lip look that complements your makeup beautifully!
Choosing Flattering Lip Colors
Choosing the right lip color can truly enhance your overall look and complement your makeup. Here are some tips to help you select the perfect shade:
Consider Your Skin Tone:
- Cool Undertones: Look for shades with blue or purple undertones, such as berry, mauve, or cool reds.
- Warm Undertones: Opt for shades with yellow or peach undertones, like coral, peach, or warm reds.
- Neutral Undertones: You can experiment with both cool and warm shades, but look for balanced colors like rose or soft pinks.
Match the Occasion: For everyday wear, consider softer, more natural shades. For a night out or special events, bolder colors like deep reds or vibrant pinks can make a statement.
Coordinate with Eye Makeup: If your eye makeup is bold, consider a more neutral lip color to balance the look. Conversely, if your eye makeup is subtle, you can go for a bolder lip.
Test Before You Buy: Try swatching the colors on your lips to see how they look against your complexion and how they wear throughout the day.
With these tips, you’ll be able to select a lip color that enhances your beauty and completes your makeup look perfectly!
| Skin Tone | Flattering Lip Colors |
|---|---|
Here’s a quick guide to selecting lip colors based on your skin tone:
By selecting the right shades for your skin tone, you can enhance your overall look and achieve beautifully defined lips! |
Long-lasting Lipstick Application Techniques
To ensure your lip color stays put and looks flawless, follow these steps:
Line Your Lips: Start by lining your lips with a matching lip liner. This helps define your shape and prevents feathering.
Apply Lipstick with a Brush: For precision and an even application, use a lip brush to apply your lipstick. This allows for better control and a polished finish.
Blot and Reapply: After the first layer, blot your lips with a tissue to remove any excess product. Then, reapply the lipstick for added intensity and longevity.
Set with Translucent Powder: Lightly dust a translucent powder over your lips to set the color and keep it in place throughout the day.
Remember, the key to a perfect pout lies in both preparation and application techniques. Don’t hesitate to experiment with different colors and finishes to discover your signature lip look!
Setting and Finishing Touches
Setting Sprays and Powders
To ensure your makeup stays put all day, setting sprays and powders are essential. Here's a comparison of the two:
| Setting Product | Best For | Application Method | Longevity |
|---|---|---|---|
Here’s a quick guide on using setting sprays and powders effectively for a flawless finish: Setting Spray
Setting Powder
Application TipsFor a flawless finish, apply setting powder to oily areas, particularly the T-zone, to absorb excess oil. Then, mist setting spray over your entire face to lock in your makeup and add a touch of hydration. This combination will help keep your makeup looking fresh and vibrant throughout the day! |
Touch-up Techniques for All-day Wear
To keep your makeup fresh throughout the day, follow these handy touch-up tips:
Touch-Up Tips
Blot Excess Oil: Before reapplying powder, use blotting papers to remove excess oil. This prevents caking and keeps your makeup looking smooth.
Concealer Touch-Ups: Use a small brush to touch up concealer on blemishes or under-eye areas. This helps maintain a flawless complexion without disturbing the existing makeup.
Reapply Lip Color: After eating or drinking, don’t forget to reapply your lipstick or gloss. This ensures your lips stay vibrant and polished throughout the day.
By following these tips, you can easily refresh your look and maintain a beautiful appearance all day long!
Makeup Removal and Skincare Routine
Proper makeup removal is crucial for maintaining skin health. Here’s how to do it effectively:
Makeup Removal Steps
Use an Oil-Based Cleanser: Start with an oil-based cleanser to break down your makeup, including waterproof products. This step ensures that all makeup is thoroughly dissolved.
Follow with a Gentle Face Wash: After using the oil cleanser, follow up with a gentle face wash to remove any residue and cleanse your skin deeply.
Apply Toner: Use a toner to balance your skin’s pH levels and prep it for the next steps in your skincare routine.
Finish with a Night Cream or Serum: Lock in moisture and nourishment by applying a night
cream or serum that suits your skin type.
FAQs
1. What are the essential tools for a flawless makeup application?
- Essential tools include various brushes (foundation, powder, blush, eyeshadow), beauty sponges, quality mirrors, and good lighting. Keeping your makeup organized with bags, dividers, and palettes is also important.
2. How do I prepare my skin before applying makeup?
- Start with a gentle cleanser to cleanse your skin, exfoliate 1-2 times a week, moisturize with a lightweight product, and use a primer suitable for your skin type.
3. What foundation should I choose based on my skin type?
- For oily skin, opt for a matte or oil-free foundation. For dry skin, a hydrating or luminous foundation is ideal. Combination skin can benefit from a semi-matte foundation, while sensitive skin should look for hypoallergenic options.
4. How can I enhance my eyes in my makeup routine?
- Use an eye primer before applying eyeshadow, blend colors seamlessly, and choose eyeliner styles that suit your eye shape. Additionally, apply mascara with a wiggle and zigzag motion for volume.
5. What techniques can I use for a long-lasting lip color?
- Start with lip prep by exfoliating and hydrating. Use a matching lip liner, apply lipstick with a brush, blot and reapply for intensity, and set with translucent powder.
Conclusion
Achieving a flawless makeup look is within everyone’s reach, whether you’re a beginner or an experienced beauty enthusiast. By investing in the right tools, prepping your skin properly, and mastering application techniques, you can elevate your makeup game and enhance your natural beauty. Remember, makeup is a form of self-expression; don’t hesitate to experiment and find what works best for you. With these tips and techniques, you’ll be ready to step out with confidence and grace, showcasing your unique style and personality through your makeup!
0 Comments